Wednesday, November 24, 2010

Breather

I had one breather with a bad spring bar... the little bar that catches on the lip of the valve cover when you screw the breather on. So I'd ordered a couple new ones from CPR. I painted them black, as they come bare, but only one came out decent. I'll need to sand and respray the other. Meanwhile I attached the decal to the good one and stuck it on.

Then I figured it was time to replace the old alternator I had used from the '49er when I upgraded that car to a higher amp unit. Actually not sure if I had purchased that alternator new or it came off one of the '73 Cadillacs. Either way, it was having issues... not completely turning off the dash light, charging high then cutting back above a certain RPM, general flakiness. Fresh rebuilt AC Delco unit from RockAuto fixed all the above.

Drove the car over to Pep Boys to buy some coolant and topped off the overflow tank. That was it for today!


Oh... and the driver's wing vent motor has decided to start working again, all by itself. Makes me happy!

Sunday, November 14, 2010

Window Adjustments

The rear quarter window has not sealed well along the edge where it joins the door glass since I put in the new window lifts, so I knew I was going to need to adjust it soon. I decided to tackle it today as it was nice weather. Other than having to take the panels all apart, it was simple enough. Now I see both doors need the glass adjusted so they tilt in slightly. I saved that for another day.

Instead I dusted off the car and used some spray detailer, Windexed and Rain-Xed the glass and went for a little spin. This is the first drive since I did the valve seals. I have a lot of oil on the engine that I never got the Gunk to clean off and it needs to burn off. But I see less and less smoke from the exhaust so I think between the new seals and the Lucas, we are going to be OK on the smoke. I just don't want to get a citation, which is entirely possible here in Los Angeles.

The Chief drove nicely and I didn't even mind the manual steering much. ;-) But I think the brakes will need to be looked at soon. I may ask Tiremans to evaluate them for me. I have a feeling if I do much I may end up with front discs! :D

Oh... and the driver's wing vent motor is not working now! It draws power when I move the switch, but no motion. 

Saturday, November 13, 2010

Headlight's Done

Finished up this upgrade today, though I *may* need to revisit it at some point due to headlight bucket depth. The connector on the back of the headlight pushes up against the back of the bucket so if adjustment proves to be impacted, I will need to open up a hole in the back. Not something I want to do unless I have to.

The Painless harness has a connection to one of the original headlight plugs. I pulled the left one off the headlight and out of the bucket to connect up. Here you can see I have used Rescue Tape to waterproof the connection. I also used dielectric grease on the contacts.


 I used a step drill to enlarge the hole in the bucket so I don't need to pull the wires out of the socket to feed them through a small hole. 

Slipped a grommet onto the wire, then with the wire inserted, pushed the grommet into the hole. It's not going to stop rain water from being splashed into the bucket, I'm afraid. But all connections are either weatherproof or have dielectric grease or both.


The relays are mounted inside the fenderwell. They are completely weathertight so no worries about them getting wet. The fuse hangs loose in the middle to accommodate easy replacement with a fresh 30 amp one, if needed. I may adapt this to a breaker later on.


 I rewired the terminals from the alternator to fix the problem with the ammeter and this made the perfect place to wire in the headlight harness power and ground.

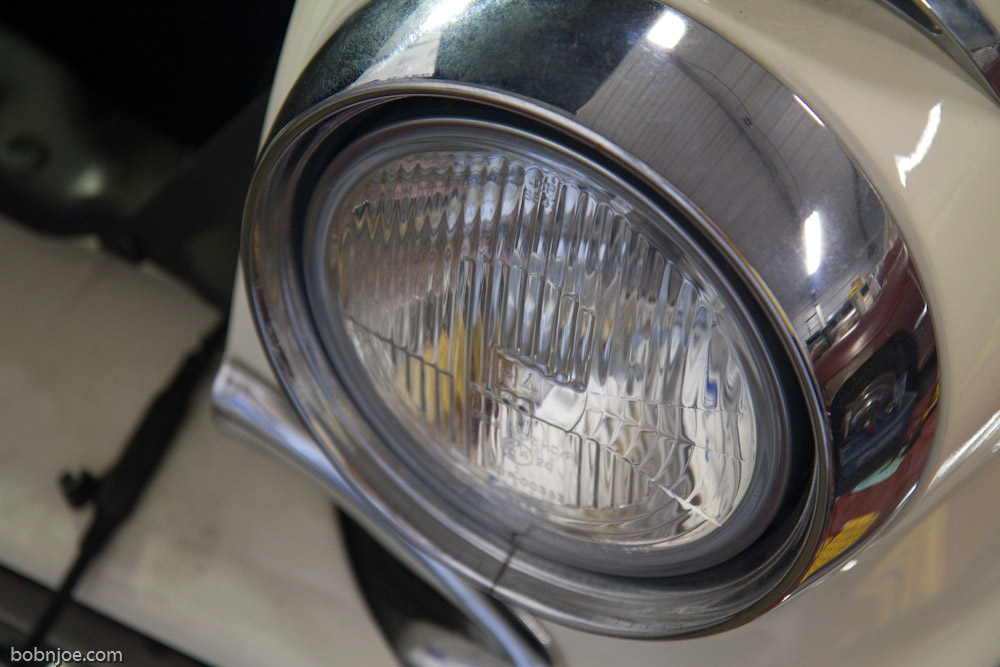
A touch of dielectric grease and the connector is ready to go on the new headlight.

First side done.The other side will be simple by comparison since all the heavy work of mounting relays and wiring the source is already done.

Trying to be discrete and non-destructive, I routed the harness for the right lamp through the bumper grommet and across the pan in front of the radiator. Of course it will be visible when the hood is open if you look down into the space in front of the radiator, but it is protected and unobtrusive. Also very removable if the next owner wants to make it original.

Wednesday, November 10, 2010

Headlight Upgrade

I bought a Painless kit to rewire the headlights and put them on relays a while back, and I had also gotten a set of Hella E-code headlight conversions.


All that has been sitting in the trunk for ages. Tonight I made a start on putting it in. So far I have the left headlight assembly apart and am determining the best way to route the harness so it is minimally invasive.

Saturday, November 6, 2010

Oil Change!

[27189] 4 quarts of Royal Purple 10-40 and 1 quart of Lucas. Fresh Purolator L20033 filter.

Figured out I made a mistake when I put the Start'm Up on. I put the red and brown wires from the old regulator together with the yellow wire that was originally on the starter solenoid. That effectively cuts the ammeter out of the path so it doesn't register charge and discharge correctly. Ordering an insulated terminal to tie the red and brown together without involving the yellow and that should solve the issue.