Friday, December 31, 2010

Old Steering Removed

All the steering linkage, column and gearbox are now removed from the car. I spent most of the day on that, trying to keep from scratching up the column in the process. Not too successful there. But at least the shift quadrant is intact.


I removed the cradle from the power ram thinking it would be easier to hoist into place without the weight of the ram. It looks like the cradle width is perfect. I had thought I might need to shim it, but there are bulges in the frame that take up what I thought was going to be a bit of slack space.

I ran a thin wire thread from tie-rod hole to tie-rod hole to give me a reference line. It looks like on the idler arm side, I can use the lower hole and re-drill the upper to to match Pontiac's bolt pattern. With those two in place, I'll see where the steering gearbox side lines up.

Sunday, December 26, 2010

Wheels and Lugs

Went over to Pep Boys and got new lug nuts to match the rotors. I felt like I would rather keep the heavier duty lug studs that came with the rotors. They take M14-1.5 lug nuts. Pep Boys just happened to have exactly 10 of 'em.

I also needed to grind down the metal lip where the wheel centers join the rim on the new wheels.


I seem to only have 3 wheels now. One wheel has gone missing. If I can't find it, I will have to get one at a yard.

Friday, December 24, 2010

De-Defroster

Today I started by installing the left caliper. The right will have to wait until I get the part as it seems to be hard to find these calipers all of a sudden. I had ordered the 10" hose (BH20996) and on the left at least, it is plenty long. I think it will be OK for the right too. Caliper went on without incident. Everything fit as it should without the  need to use the grinder on any parts.  ;-)  The easy work is over. Now comes the hard stuff.


I started to pull the old front brake line and found there was no way the lines were going to come off the distribution block without a big fight or a big pair of snips. I chose the snips. I quickly figured out it wasn't going to be easy with the original brake master in place. I removed the brake pedal first. One U-bolt around the steering column, two wires to the brake light switch, and a clip holding the pushrod to the pedal pad. No problem there. Then 4 bolts through the floorboard and the master/booster fell loose. But then I then figured out that there was not much chance of the original master/booster coming out from under the car because there is the starter and a hump in the frame blocking easy exit. I saw that the floor panel around the column was easily removable and the master/booster came through the opening without a fuss. It's got a rebuild sticker on it from Dallas, Texas. No telling if they did a good job or not. I would have it gone through again before putting it back on if I ever decided to do that.


With the master gone, it wasn't too traumatic to get the hard line for the right out. I ended up getting the right end loose and with that titled out over the radiator support, the left then came forward out  of the engine bay too. Had a bit of trouble getting around the fuel pump flex hose. The left hard line is short and was simple.

I figured I might as well continue to pull stuff off I wasn't going to need so I tried to pull the defroster. The shop manual is no help at all when you've removed the obvious two bolts from the sides and disconnected the linkages. The inspection mirror revealed a stud that has to be removed from the inside of the car and goes through the bottom of the defroster ducting manifold. The hoses don't leak too much fluid when they are unhooked.


Along the way I stopped in to my computer long enough to manually snipe bid a complete brake pedal assembly for a '55 Chevy. It looks like a good candidate to mount on the Pontiac firewall. Got it for a lot less than Eckler's Classic Chevy wants for a used pedal alone without the bracket. This one includes the stoplight switch, which hopefully is still good, and the return spring. The rubber foot pad doesn't show any wear either, but I ordered a spare anyway as they are cheap.


I guess tomorrow I can think about bending up some new stainless brake lines once I figure out where I'm mounting the proportioning valve.

Thursday, December 23, 2010

Washers and Cotter Keys

Stopped off at the hardware store on the way home from work and picked up some 3/4" hardened washers  to push out the castellated nuts to the cottery key hole. The left side took two, the right, just one. Dust caps are in place. I can test fit a caliper tomorrow but I need to start work on the lines next.

Wednesday, December 22, 2010

Left and Right Front

Work continued as I created new steering stop bolts for each side from new grade 8 stock. I mic'ed the length of the old stop bolt and cut the new one to have the same effective length while not sticking out so far on the side the disc will be on.

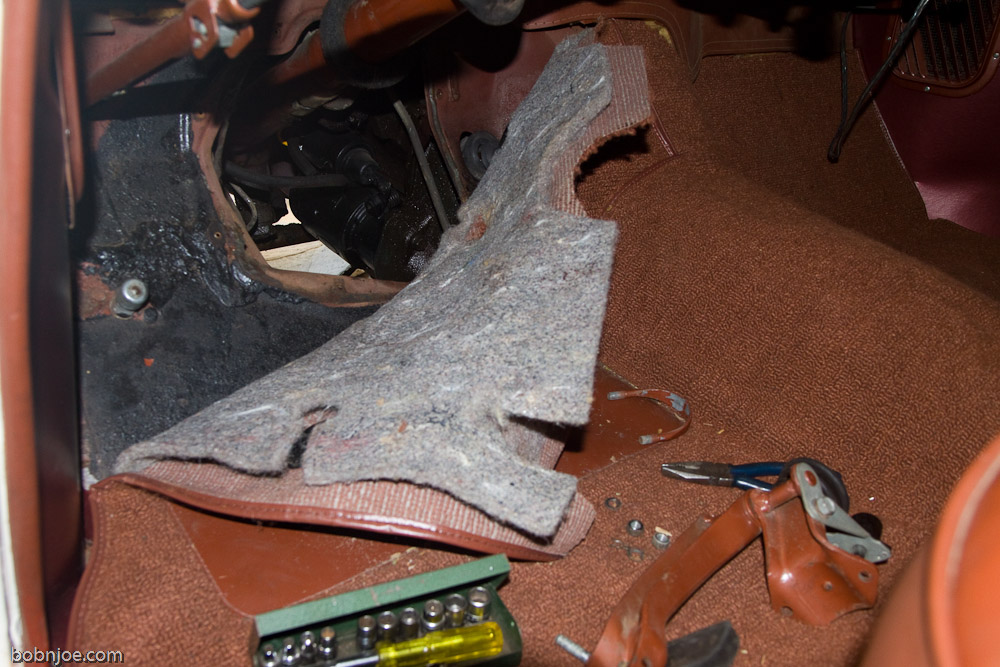
I took the right side apart... this time I left the shoes and everything in place and just pulled the whole plate off as an assembly. Wonder why the hell I have been taking all the parts off each time up to now? This is much simpler and faster. I just cut the hoses with a pair of dikes because a new hose would be needed/desired if these dudes were to go back on anyway. So now I had the caliper bracket in place on both sides. I had the new stop bolt and I put in one new shorter bolt on the other top position. For the two bottom holes where the steering arm attaches to the knuckle, I used the original long bolts but with new lock washers and nuts. I torqued down all the bolts and put the inner spacer on the right side with Red Locktite, as I had already done on the left.

Next I got the left rotor and test fitted it to the spindle to check clearances. No problems! So I grabbed the inner bearing and packed it with grease. I used the same Mobil 1 synthetic I usually use. Inserted the bearing in the race of the rotor and carefully tapped in the seal. The seal looks like it pushes up against the bearing and distorts a bit when it's all the way seated but I think it will be OK. Then the outer bearing. That bearing did not fit right on the spindle but I noticed the instruction sheet said, "insert outer bearing and spacer (if needed)". The kit does include a second set of smaller spacers, and I figured out what to do.

Simplest solution is to start the spacer into the outer edge of the bearing. It will be very tight. Then with the rotor on the spindle, slip the bearing in place but without the outer washer. Put the nut on and tighten it down. The sleeve will push in nicely. You can do this before or after packing the bearing.

With the sleeve spacers in place and outer bearings packed, I put the big spindle washer on and snugged down the nut. The instructions say, "If nut bottoms out before hitting washer, add a machine washer on top of factory washer, and then secure with new cotter pin and new dustcap." Well the nut tightened down before bottoming out, but that left the cotter key slot too far from the top of the castelations on the nut to do any good. So I need to go get a couple of washers and with the nasty weather, that gave me a good stopping place.

I'm still short the left right caliper (RC4167) and I just found out it may take another two weeks from Amazon. I'm thinking I'll cancel and order from Rock instead, even if it's more $$$. [The instruction sheet wrongly identifies the RC4167 as the left caliper when it is the right one.]

Monday, December 20, 2010

Oh Crap!

Oh oh... now I've done it. I figured while the brakes are apart I might as well try another experiment. I've been eyeing these kits since I got my Star Chief. Of course I've asked around if people thought they would fit the Pontiac and either folks didn't know or they said they wouldn't. I never let that stop me though. ;-) What it comes down to is how much re-engineering do I need to do to get it to fit. I don't mind a little cutting and welding. It is a lot more expensive than just hogging out the steering gearbox mounting holes to get a newer, smaller power box in there. But if it works nicely, it is a lot more elegant.


1955-56 Chevy Power Rack & Pinion Cradle Kit - Part No.: FR309KTPW

Power Rack and Pinion Kit Includes:
  • Paintable Tilt Column
  • Mounting Hardware
  • Wiring Connector
  • Universal Joints
  • Patented Rack & Pinion Cradle System
  • Power Steering Pump with Billet Bracket and Pulley
  • Polished Aluminum Mounting Reservoir (Hoses sold separately)
  • Swivel Floor Mount for easy column installation
[Shipment arrived  12/28/2010 drop ship]

    Saturday, December 18, 2010

    More Parts

    Lines, fittings and combination valve.

    Ordered from Summit Racing.

    Left Front Wheel Begins

    So the parts have been arriving and I now have enough to get started... only missing the calipers as far as what is needed at each wheel.

    Lined up and ready to start the surgery. 

    First happy discovery is that the hub caps will work with the spare Buick/Cad wheels I have. The original wheels won't fit over the calipers. Hopefully the spare wheels will fit the rotors! I'll check that a bit later. [They do!] Meanwhile, I got the left wheel and drum disassembled. Note to self: the lugs on the left are reverse (Right Hand) thread. No, I didn't break any.

    The drums look to be in good shape except for some weird wear on the hub flange. Looks non-critical but it's odd.

    The shoes are riveted and look like they have plenty of life left. In fact, they almost look like they haven't fully bedded. Did someone replace the shoes recently and reuse the hardware, or were they replaced awhile back but the car went unused... These can't be the factory shoes because they would be more worn with 27K miles.


    The brake hardware looks like it's been there a long time but not ancient. All pulled off now.


    Cleaned up the spindle and popped on the spacer supplied by Scarebird using the recommended Loctite Red. Then I fitted the bracket to the spindle mounting points. The instructions say to trim the stop bolt by 1/4" to compensate for the thickness of the caliper bracket, but I don't see where that needs to be done. You always have to do a little secondary engineering on these kits because they are designed to fit more than one vehicle.

    Tuesday, December 14, 2010

    Brakes?

    I am ready. I am tired of the original factory power drum brakes. I'm ready to admit I would rather have a modern split-circuit, power boosted, firewall mounted master cylinder than a defroster.

    Help me Obi-Wan Kenobi, you're our only hope!

    Scarebird kit already in hand. I just needed to order the rest of the parts. That's the easy stuff and I ordered it all tonight. Some from Amazon, some from RockAuto.


    Part

    Application

    Wagner

    Raybestos

    Supplier

    Rotor

    1995-99
    WT1500 2WD front


    56258

    Amazon

    Caliper,
    LH

    1969-78
    Eldorado front


    RC4167

    Amazon

    Caliper,
    RH

    1969-78
    Eldorado front


    RC4168

    RockAuto

    Inner
    Bearing

    1971-76
    Riviera, 88

    BCAA5


    RockAuto

    Outer
    Bearing

    1971-76
    Riviera, 88

    BCAA3


    RockAuto

    Wheel Seal

    1977
    Riviera

    BCA Part #
    8871

    RockAuto 

    Dust Cap

    1971-76
    Riviera

    Dorman
    13977

    RockAuto

    Hyd. Hose
    (10-3/4")

    1955-57
    Pontiac (ex. Can)


    BH20996

    Amazon

    Hyd. Hose
    (12-3/4")

    1941-50
    Buick front


    BH5433


    Hyd. Hose
    (14")

    1950 Olds
    88 front


    BH5931


    Thread
    locker

    Red


    Amazon


    I've been looking at engine compartment pix of any tri-five Pontiac I can find to see where to mount, what size booster, etc. I have a few boosters sitting around, so maybe can use one of them. I pinged he Pontiac-'50s group and asked if anybody had done this who might have some photos, dimensions, descriptions of what was done. I want to do a very nice clean job since the car is in such nice shape.

    Saturday, December 11, 2010

    Drive

    Took the Cheif over to the post office today. Not a big drive, but interesting after driving the '58 a couple days ago. Nice comparison. I like the car but I don't like the brakes at all. I can even take the steering, more or less... though a quick ratio power box would be much nicer. But the flipping oil bath air cleaner has got to go. I added some oil to it since it looked low... maybe it wasn't after all. But of course, a little driving around and the intake started sucking oil in from the cleaner, just like it used to do on the '49er. I can gut the original cleaner and put a paper filter in there, but then the next owner doesn't get an oil bath cleaner if he wants it. I'd rather have a chrome aftermarket job I can replace with original any time I want to. So: